WebSocket Requests
A WebSocket request opens a connection to a server and keeps it open. You send messages when you like, and everything the server sends shows up in the message log as it arrives. Create one from New › WebSocket in the request tree.
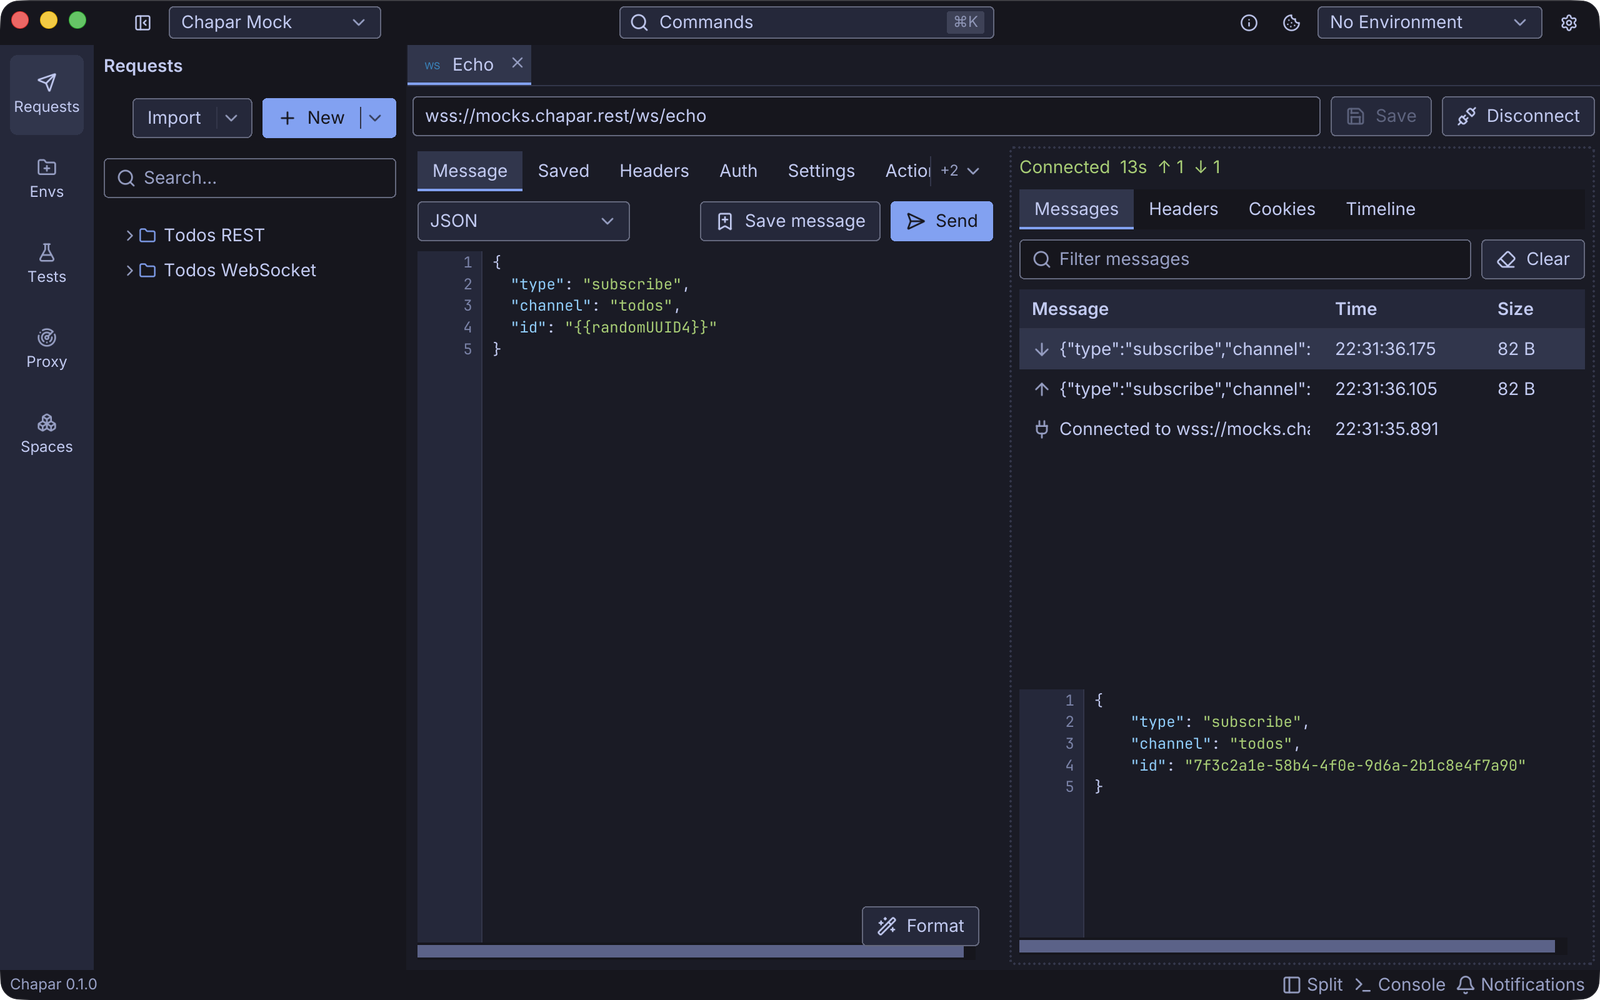
The request bar
| Control | What it does |
|---|---|
| URL | The server, starting with ws:// or wss:// (TLS), for example wss://mocks.chapar.rest/ws/echo. {{variables}} work here. |
| Save | Saves the request (⌘S), including its saved messages. |
| Connect / Disconnect | Opens or closes the connection. ⌘Enter connects, or sends the message once connected. While connecting, the button stops the attempt. |
Closing the request’s tab closes its connection.
Messages
Write the message on the Message tab and click Send (⌘Enter). Pick its format first:
| Format | What is sent |
|---|---|
| Text | The text as written, in a text frame. |
| JSON | The JSON in a text frame. Format pretty-prints it. |
| Binary (base64) | Write the bytes as base64; Chapar decodes them and sends a binary frame. |
{{variables}} and functions are filled in each time a message is sent, so {{randomUUID4}} gives every message a new id.
Saved messages
Save message keeps the message with the request. The Saved tab lists them: rename one by editing its name, send it with the send icon, load it into the editor with the load icon or a double-click, or delete it. Saved messages are stored in the request’s file, so they are shared with anyone who has the workspace.
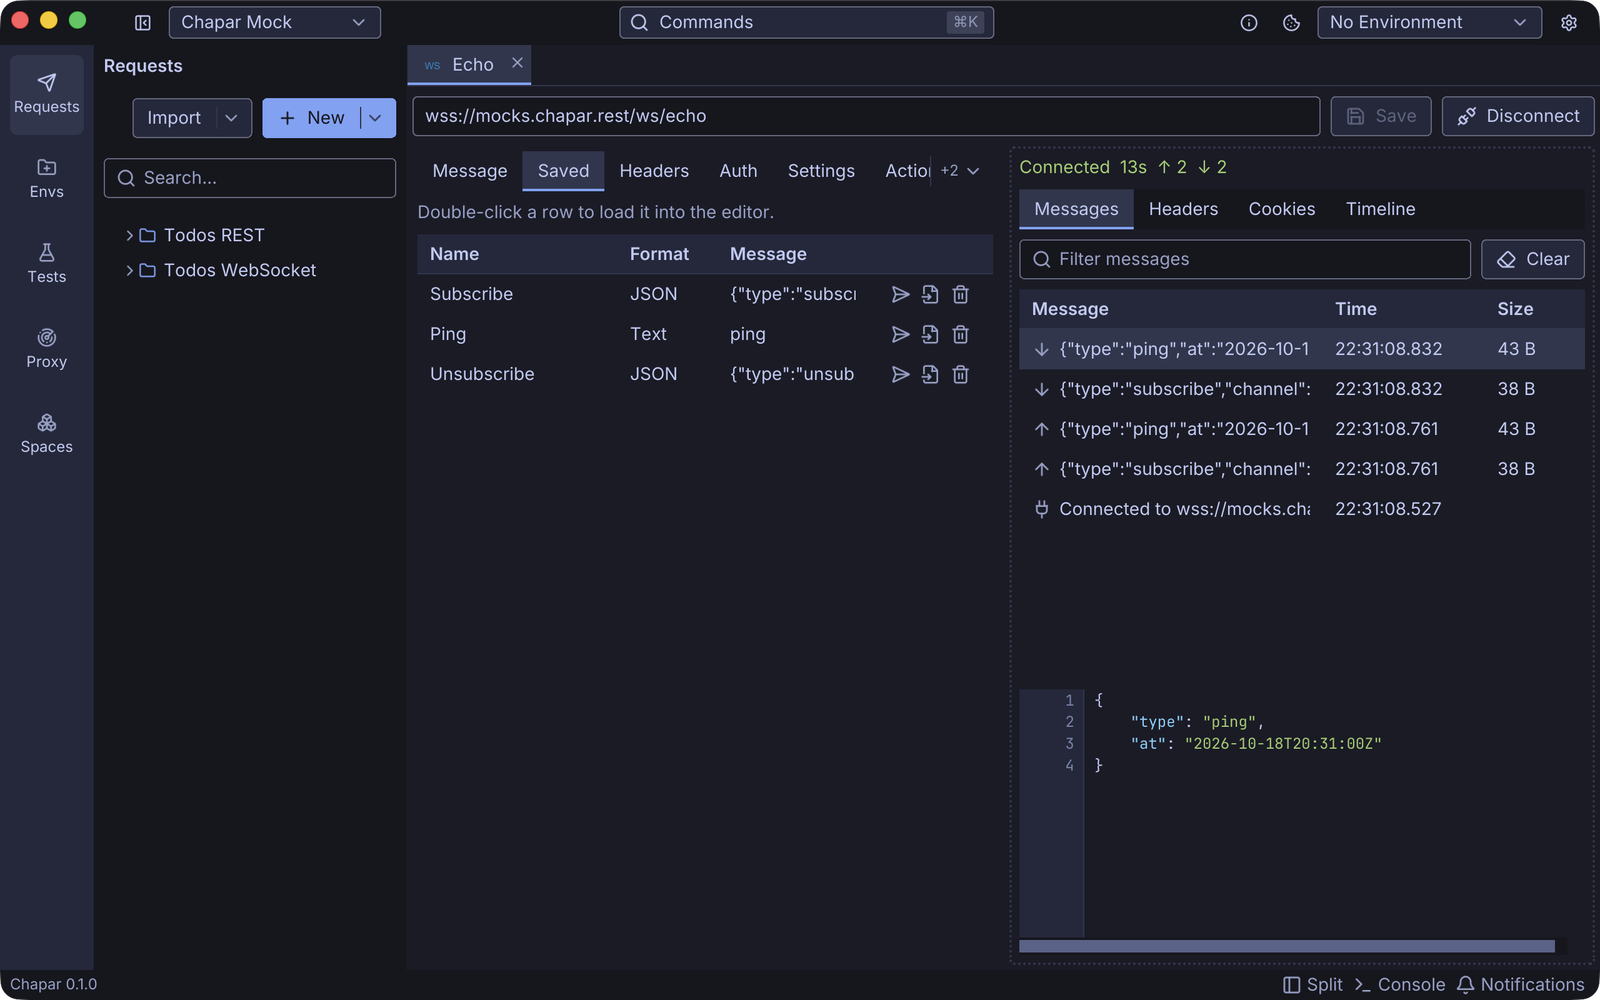
The message log
The Messages tab shows everything on the connection, newest first: messages you sent (↑), messages that arrived (↓), and the connection opening and closing, with the close code and reason. Pings and pongs are listed too. The status line counts the time connected and the messages each way.
Click a row to see it in full below the log: JSON is indented, and binary messages are shown as a hex dump. Filter messages narrows the log, and Clear empties it. Right-click the detail to copy it or save it to a file.
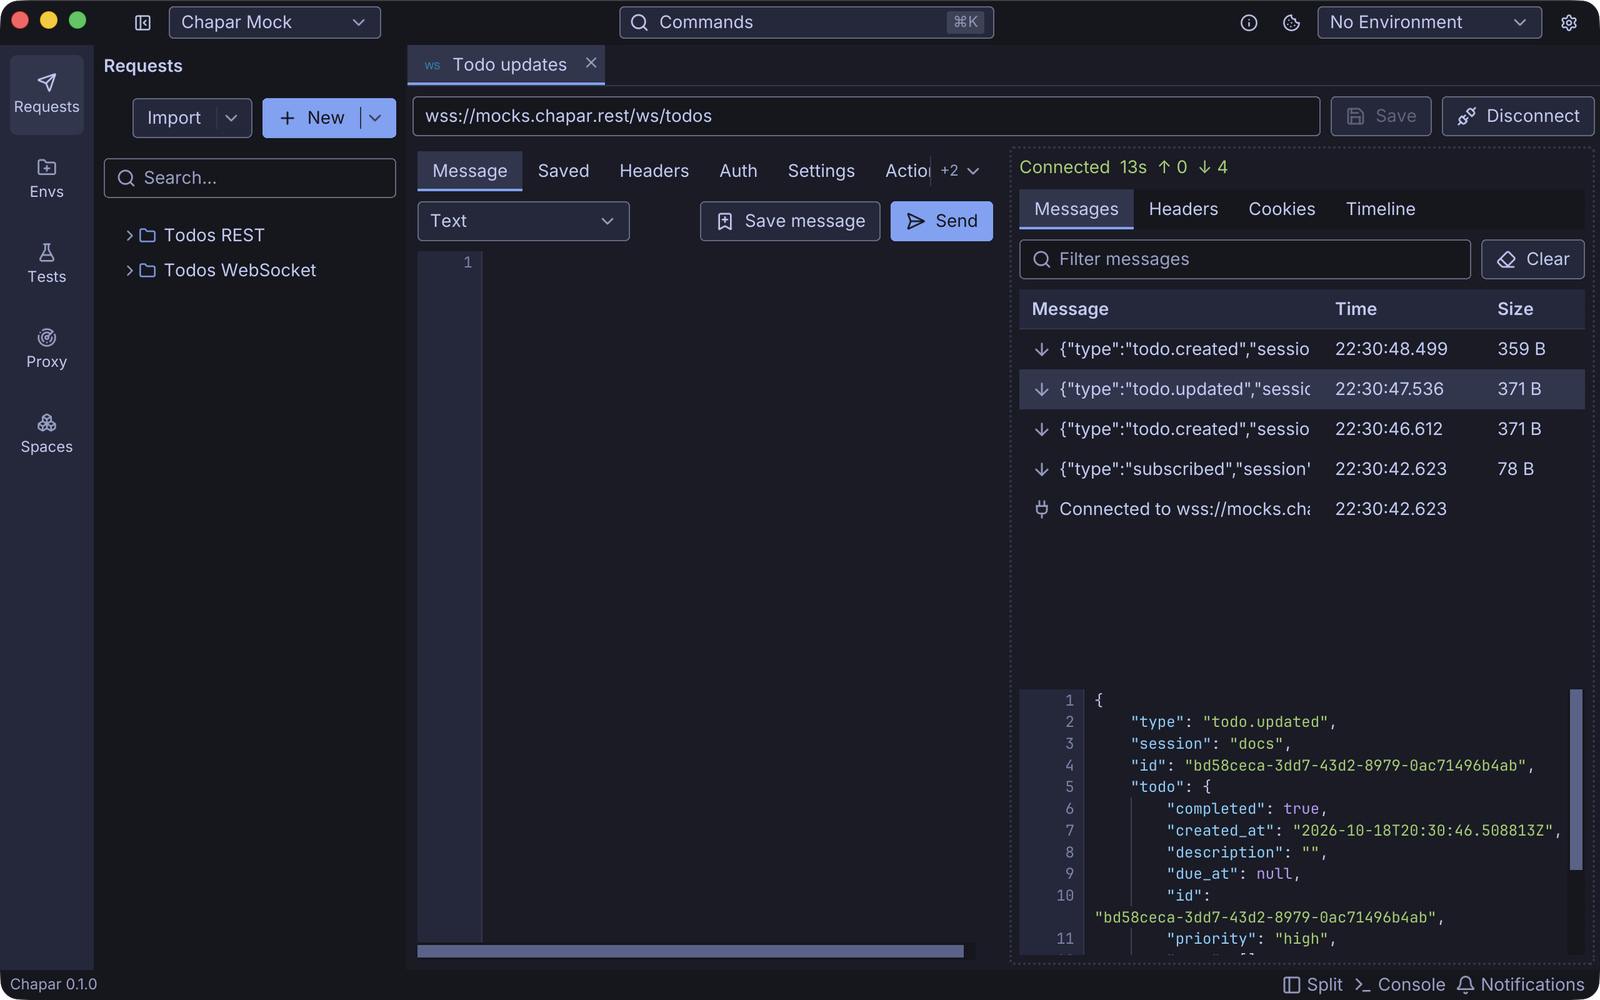
The log keeps the last 5000 events.
Headers, auth and the handshake
A WebSocket connection starts with an HTTP request, the handshake, so it works like an HTTP request:
- Headers are sent with the handshake, along with the headers of the request’s collection.
- Auth adds Basic, Bearer or API key credentials, or inherits the collection’s.
- The handshake uses the Validate TLS certificates setting, the cookie jar and Chapar’s User-Agent, like HTTP requests.
After connecting, the response’s Headers, Cookies and Timeline tabs show the server’s handshake response.
Settings
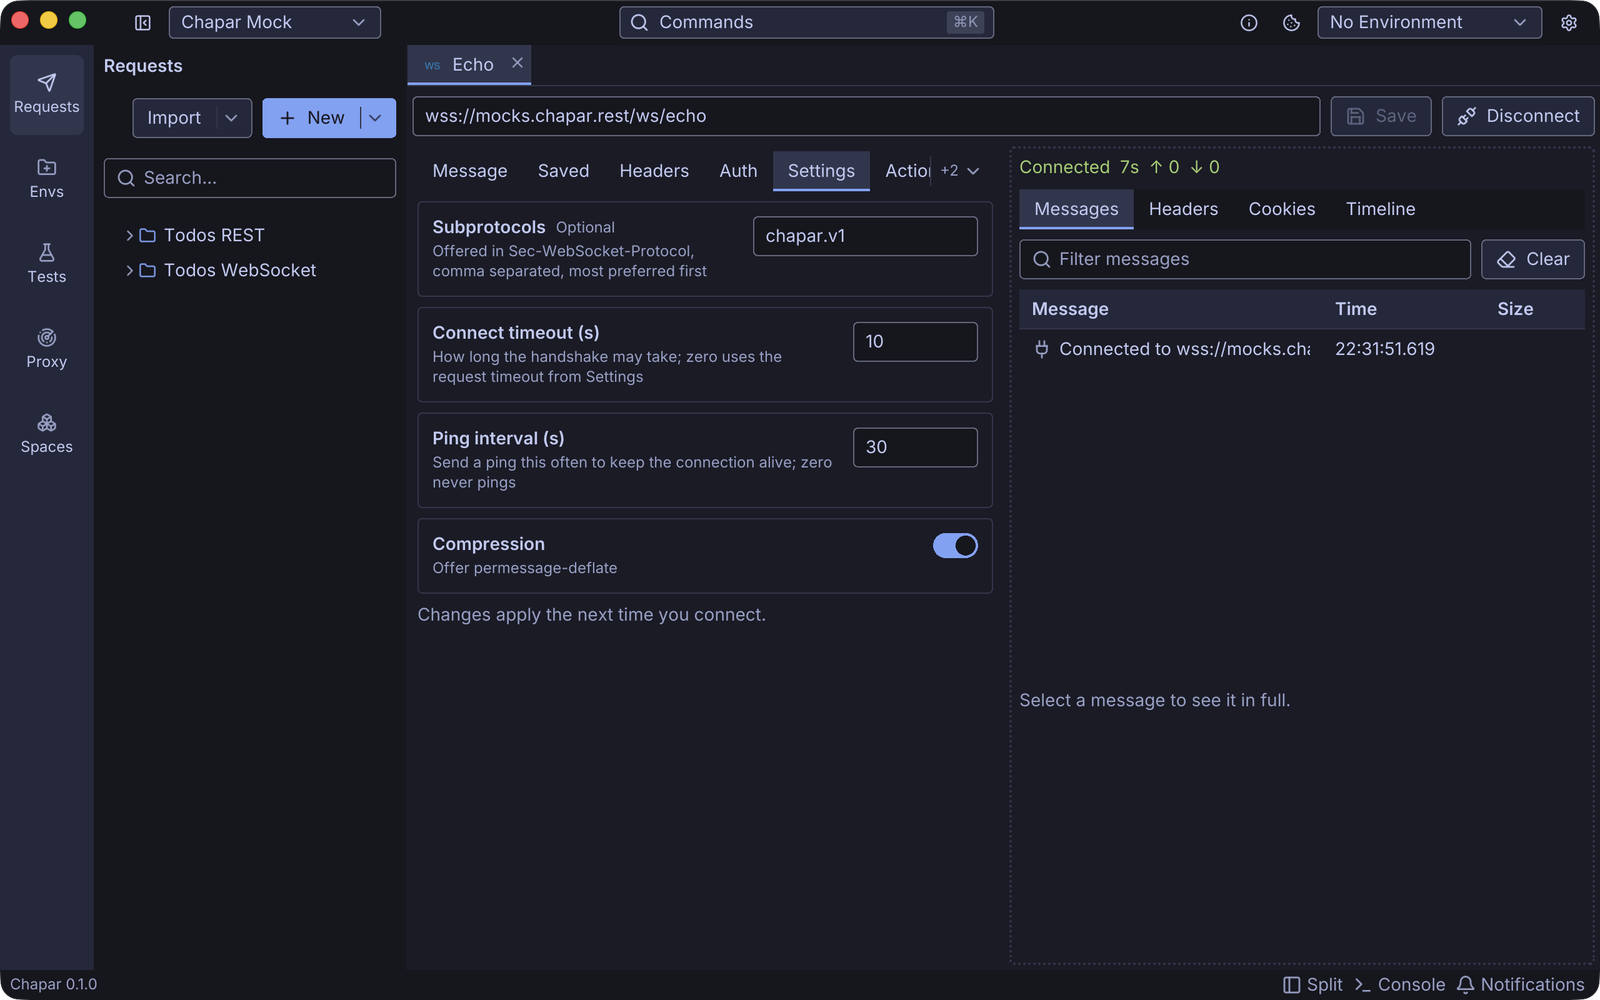
| Setting | What it does |
|---|---|
| Subprotocols | Offered in the Sec-WebSocket-Protocol header, comma-separated, most preferred first. The Connected to entry in the log names the one the server picked. |
| Connect timeout (s) | How long the handshake may take. 0 uses the request timeout from Settings. |
| Ping interval (s) | Send a ping this often to keep the connection alive. 0 never pings. |
| Compression | Offer permessage-deflate. |
Changes apply the next time you connect.
Actions and Info
- Actions can run a pre-request script before every connect. A Python script sees the handshake as a GET request, with the message being written as its body. Post-request actions don’t apply to a connection, so they aren’t shown. See Python Scripting.
- Info holds the request’s name and description.
Try it on the mock server
The mock server has WebSocket endpoints to try:
wss://mocks.chapar.rest/ws/echosends every message back.wss://mocks.chapar.rest/ws/todospushes a message for every change to your todo list. Connect with anX-Session-Idheader, then create or update todos with REST requests using the same session id, and watch the changes arrive.