Import And Export Data
Import
Chapar imports:
| Format | Where | Result |
|---|---|---|
Postman collection (.json, v2.1) | Requests › Import | A collection with its requests |
OpenAPI specification (.json, .yaml, .yml) | Requests › Import | A collection with a request for every operation |
Protobuf file (.proto) | Requests › Import | A collection with a gRPC request for every method |
| curl command | Requests › Import › From curl command… | A request with the command’s method, URL, headers, body and auth |
Postman environment (.json) | Envs › Import | An environment with its variables |
Test case (.yaml) | Tests › Import | A test case |
To import a collection, click Import above the request tree (or right-click the tree and choose Import), and pick the file. Chapar recognizes the format from the file.
To import a curl command, such as one copied from API docs or a browser’s Copy as cURL, open the arrow next to Import and choose From curl command…, or right-click a collection and choose Import curl to add it there. A curl command on the clipboard is filled in for you. You can also paste a curl command straight into the URL field of an HTTP request: Chapar replaces the request’s method, URL, params, headers, body and auth with the command’s, and keeps its name, collection and scripts.
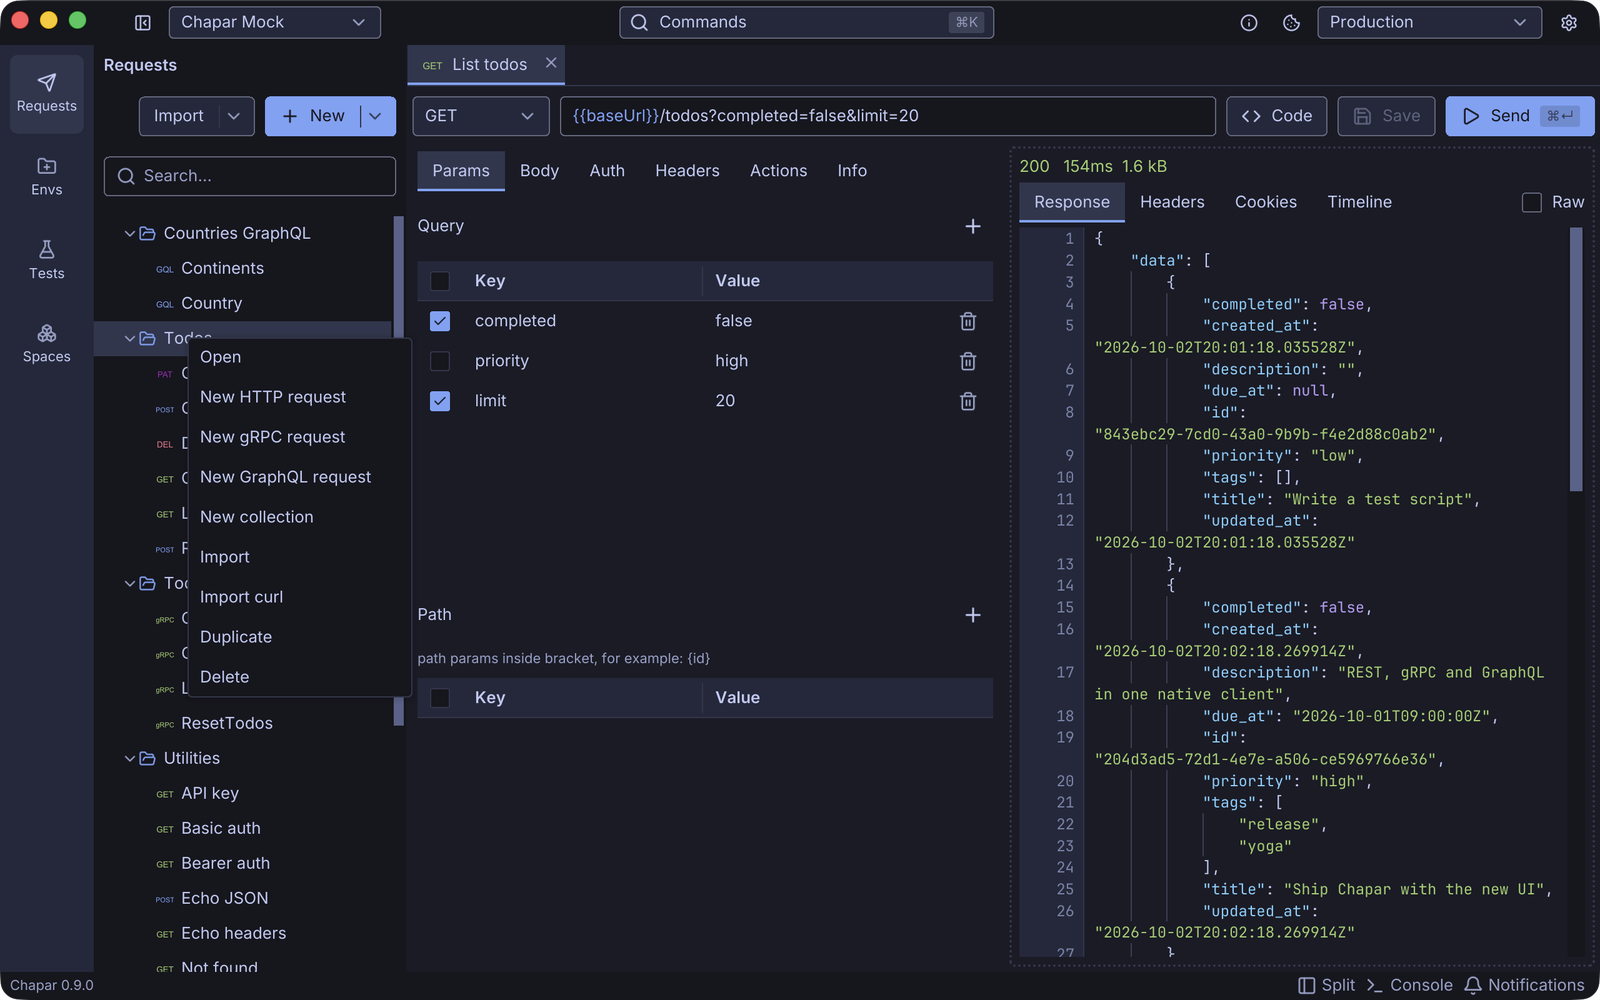
To import an environment, open Envs, click Import and pick a Postman environment file.
Insomnia and HAR imports are planned.
Where your data lives
Everything you create is stored as YAML files, one file per request and environment, in the workspace folder:
~/.config/chaparInside it, every space has its own folder:
chapar/
└── Chapar Mock/                  # a space
    ├── _workspace.yaml
    ├── collections/
    │   └── Todos/
    │       ├── _collection.yaml  # the collection's headers, auth and notes
    │       ├── Create todo.yaml
    │       └── List todos.yaml
    ├── requests/                 # requests that are not in a collection
    ├── envs/
    │   ├── Local.yaml
    │   └── Production.yaml
    ├── testcases/
    │   └── Todo lifecycle.yaml
    └── .state/                   # machine-local state, ignored by git
        └── cookies/
Chapar’s own settings are kept apart from your data:
| OS | Settings folder |
|---|---|
| macOS | ~/Library/Application Support/chapar |
| Linux | ~/.config/chapar |
| Windows | %APPDATA%\chapar |
Change the workspace folder
Open Settings (⌘,) › Data and set Workspace path to the absolute path of another folder, for example a folder inside a git repository or a synced drive. Click Save and restart Chapar.
Export and share
Because a space is a folder of YAML files, you share it by sharing the folder. Keep it in git to review and version your API collections with your code:
cd ~/.config/chapar
git init
git add .
git commit -m "Add Chapar collections"
The .state folder, which holds your cookie jars, comes with its own .gitignore, so session tokens stay out of the repository.
To share a single request in another form, open it and click Code: Chapar writes it as cURL, Python, Go, JavaScript (Axios or Node fetch), Java (OkHttp), Ruby or .NET code. See Generate code.